Clothing Photography for Shopify: Tips That Drive Sales
Clothing photography for Shopify is a different beast compared to shooting for Amazon or social media. Your images are doing the entire sales job on a Shopify storefront, with no algorithm pushing your listing to buyers who are already searching for your exact product. The photos have to stop someone mid-scroll, build trust, and answer every fit and quality question before the customer even thinks to ask.
The biggest challenge with clothing specifically is communicating fit, drape, and texture through a flat screen. A shirt that looks great on a hanger can look completely shapeless in a photo. Fabric that feels luxurious in person can photograph like polyester if your lighting is wrong. Getting this right consistently across an entire catalog is where most Shopify store owners struggle, especially when new styles are constantly coming in.
Shopify gives you a lot of control over how images are displayed, but that flexibility also means you need a consistent shooting system. Your aspect ratio, background color, and image sizing need to stay locked in across every product, or your collection pages will look chaotic and unprofessional. Most themes look best with a 1:1 or 2:3 ratio, and you need to decide that before you shoot a single product, not after.
For clothing, you have three real options: flat lay, ghost mannequin, and on-model photography. Each has tradeoffs in cost, consistency, and conversion. On-model photography consistently outperforms the others for apparel because it answers the fit question visually, but it requires more planning, more budget, and more post-production. Ghost mannequin is a solid middle ground for tops, jackets, and structured pieces. Flat lay works well for accessories and simple basics but struggles to communicate fit for anything with structure or tailoring.
The practical advice here is to pick one primary style and stay consistent with it across your catalog. Mixing ghost mannequin shots with on-model shots on the same collection page creates visual noise and makes your brand look unpolished. Decide on your system, build a shot list, and shoot in batches to keep everything cohesive.
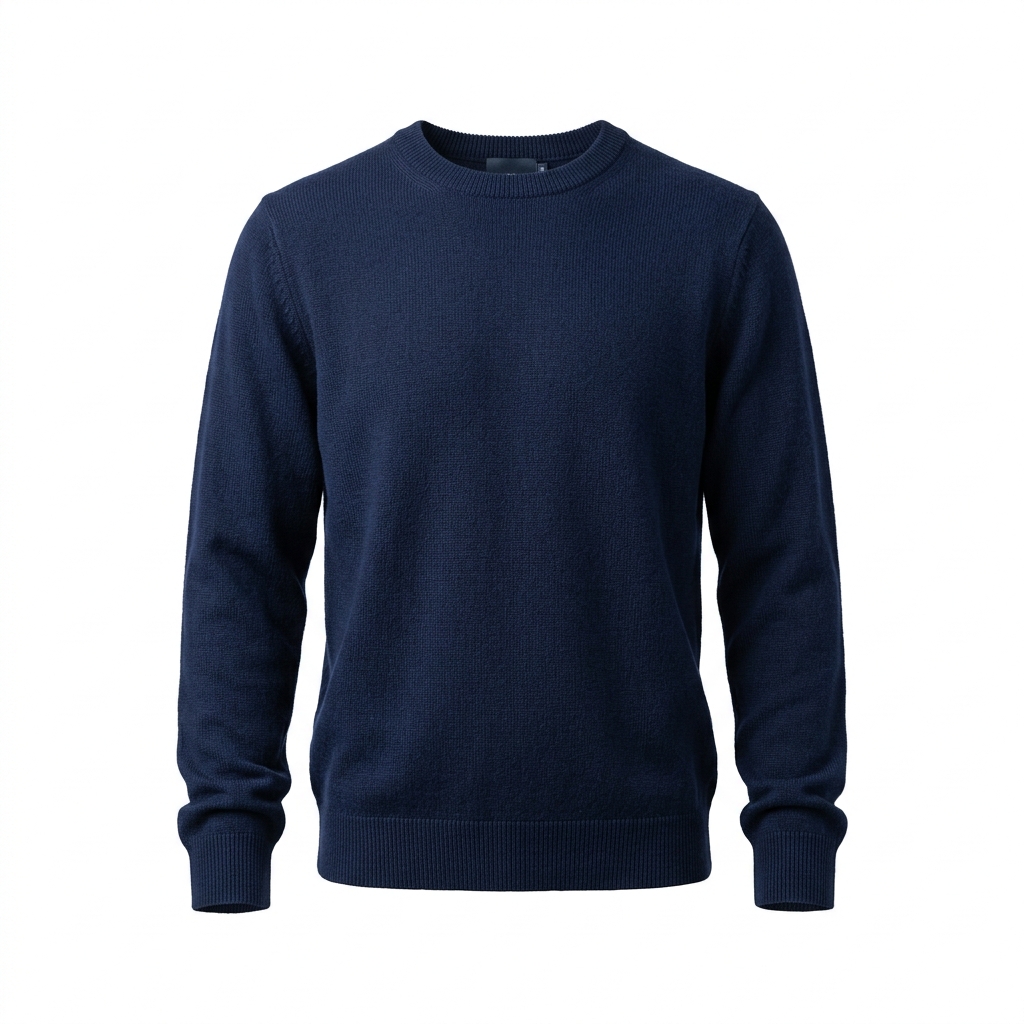
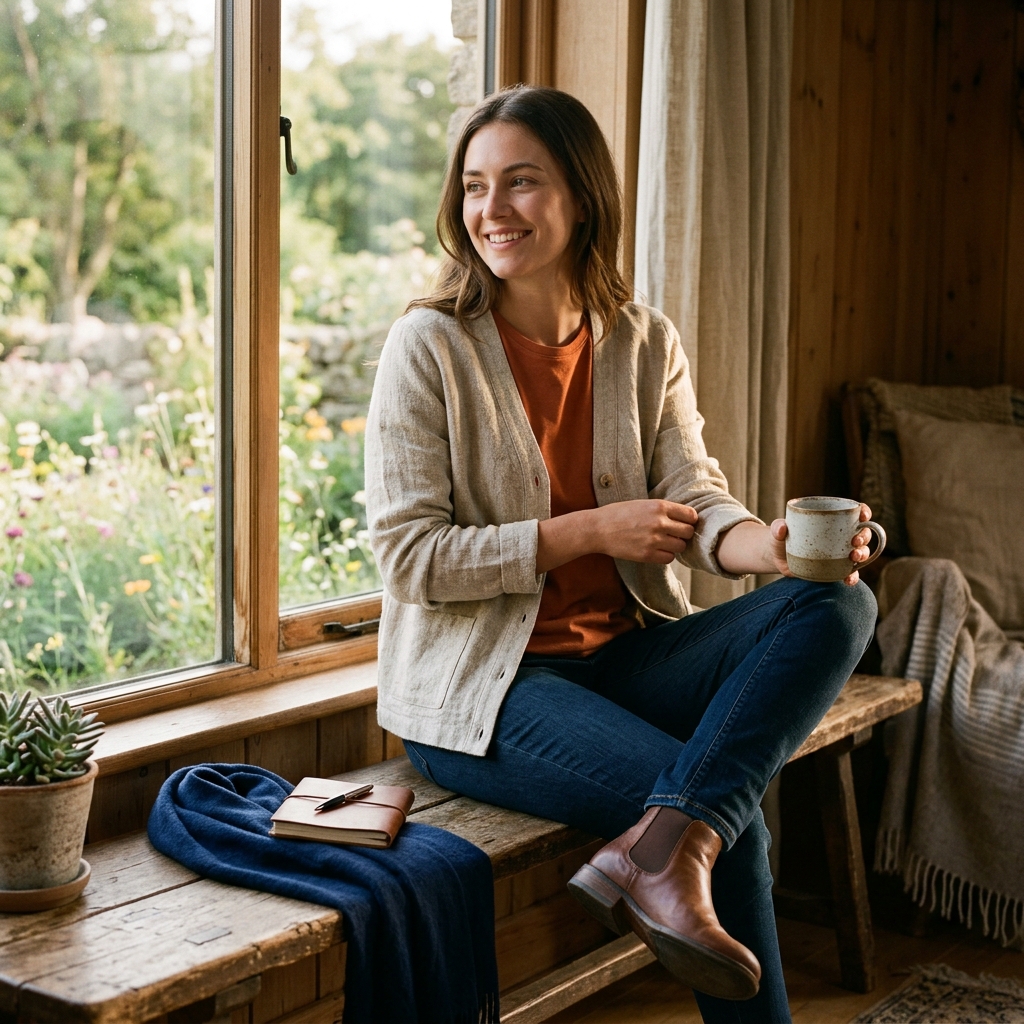
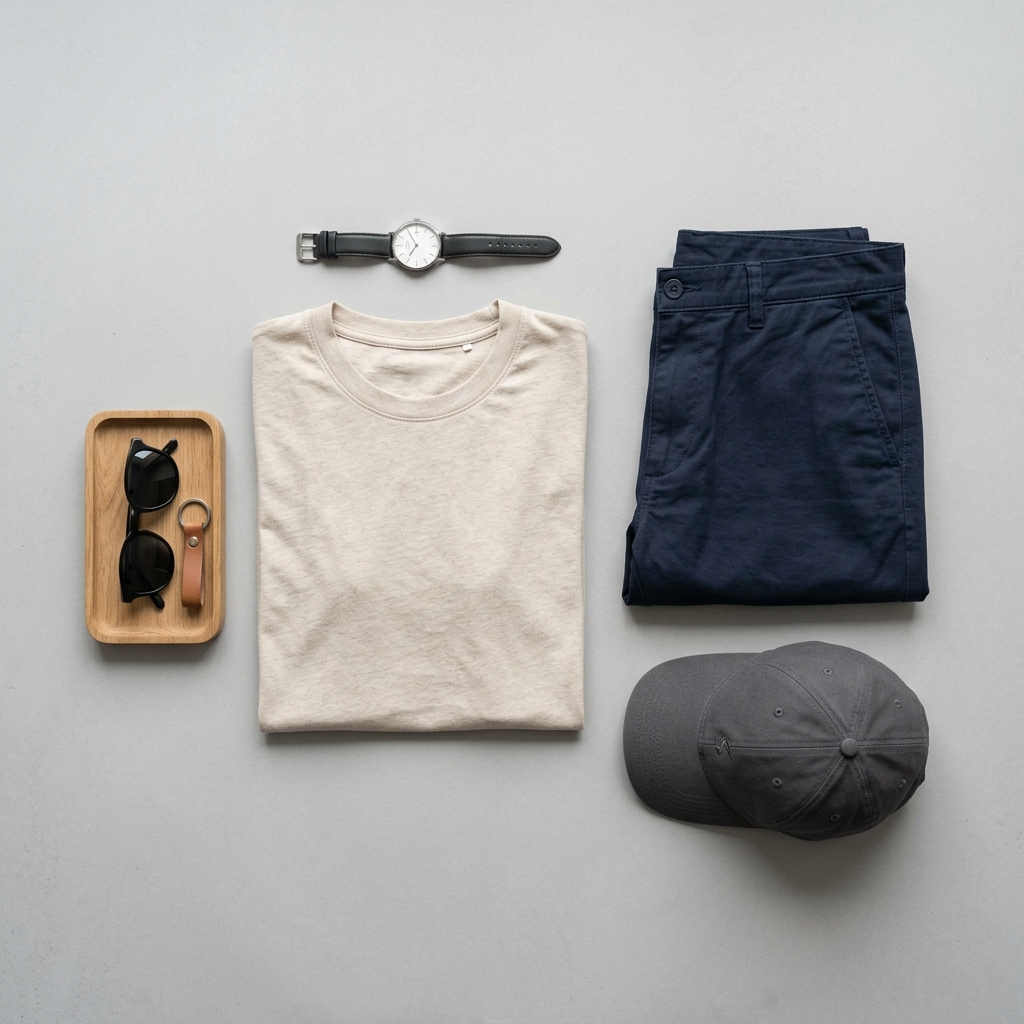
Example Images
Common Mistakes
Shooting on a hanger instead of a mannequin or model
Hangers make clothing look flat, shapeless, and cheap. Even well-made garments lose all their structure when hanging on a wire or plastic hanger. Shopify customers can not pick up the product to check the fit, so they rely entirely on the photo to judge it.
Use a ghost mannequin or dress form at minimum. For anything with tailoring, structure, or significant shaping, invest in on-model photography. If budget is tight, a cheap foam dress form from Amazon is still miles better than a hanger for most tops and jackets.
Inconsistent backgrounds and aspect ratios across the catalog
Shopify collection pages display all your product images in a grid. If some images are shot on white, some on grey, some lifestyle, and they are all cropped differently, the grid looks like a flea market rather than a brand. This kills trust and makes customers less likely to click through.
Pick one background color and one aspect ratio before you shoot anything. White or very light grey works for most themes and keeps attention on the product. Lock your crop in Lightroom or Photoshop using a preset so every image exports at exactly the same dimensions.
Ignoring wrinkles and garment prep before shooting
Wrinkles photograph much worse than they look in person. The camera flattens depth, so a slightly creased shirt looks heavily wrinkled in the final image. Customers read wrinkles as poor quality or careless packaging, and it reflects badly on your brand.
Steam every single garment right before it goes on the mannequin or model. Keep a steamer on set, not in another room. Check seams, collars, and hems before every shot. Budget an extra 5 to 10 minutes per garment for prep and you will save hours in retouching.
Using only one photo per product
One photo does not answer enough questions for a clothing purchase. Customers want to see the front, the back, a detail shot of the fabric or stitching, and ideally a lifestyle or on-model shot showing how it fits in real life. Missing any of these creates doubt, and doubt kills conversions.
Build a standard shot list and use it for every product. A solid minimum is front, back, one detail shot, and one on-figure or lifestyle shot. Shopify handles multiple images well, so there is no reason to limit yourself to one angle.
Skip the trial and error
Get Shopify-ready Clothing photos without the guesswork
Upload one product photo. ProductScene generates a complete Shopify gallery — every image slot, correctly sized, styled for the platform.
Try free