Jewelry Photography Tips for Etsy Listings That Actually Sell
Jewelry is one of the hardest product categories to photograph well, and Etsy makes it even trickier because your buyers can't touch, try on, or hold the piece before buying. They're trusting your photos completely. If your images aren't doing the work, your conversion rate will tell you — high views, low sales is almost always a photography problem.
The core challenge with jewelry is scale and surface. Small pieces get lost without a reference point. Shiny metals blow out under direct light. Gemstones look flat and lifeless unless light hits them at exactly the right angle. And transparent or translucent stones — think moonstone, labradorite, rose quartz — need completely different treatment than opaque ones like turquoise or onyx. One approach does not fit all.
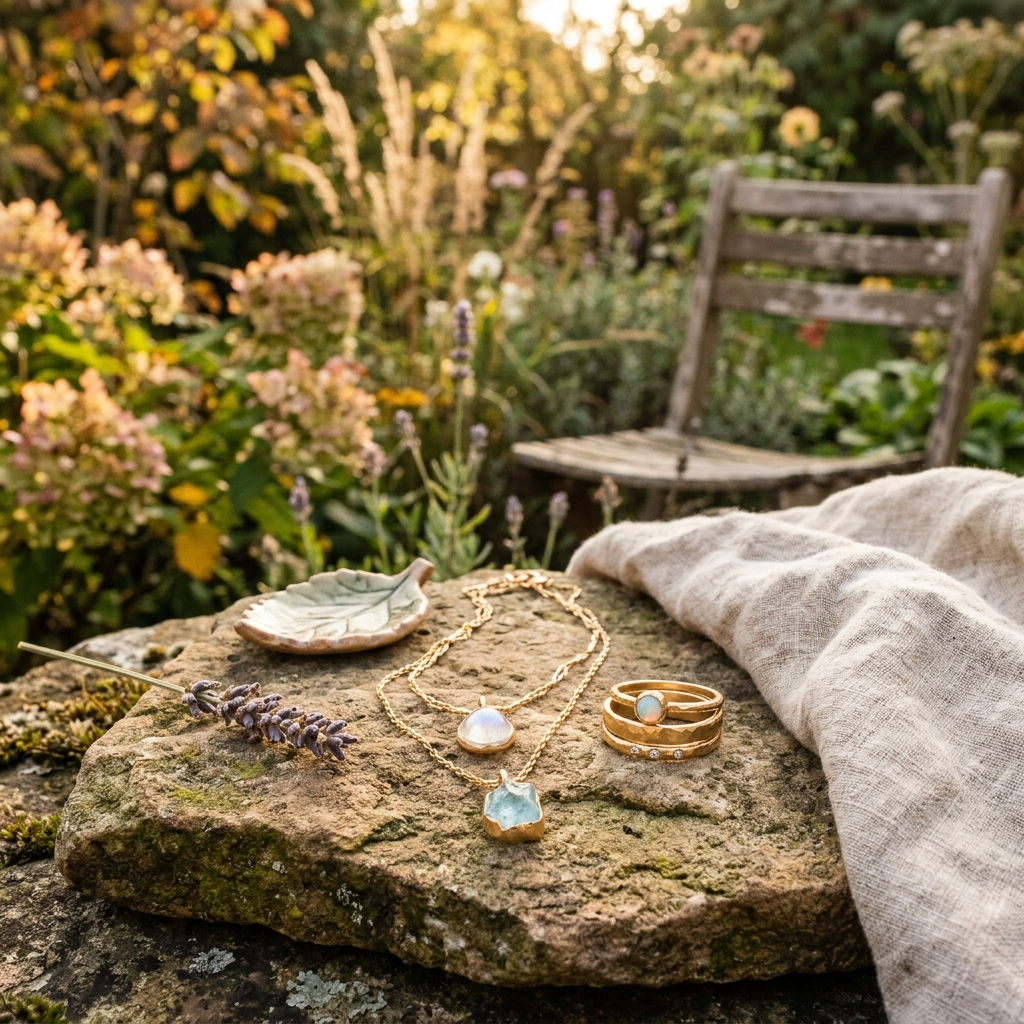
Etsy specifically rewards shops that show lifestyle context alongside clean product shots. Your first image needs to work as a thumbnail — it has to stop the scroll at roughly 170x135 pixels. That means no cluttered backgrounds, no tiny pieces floating in a sea of negative space, and no overly dark or moody setups that lose detail at small sizes. The algorithm also responds to shops with consistent visual branding, which means your image style should be recognizable across your entire catalog.
Beyond aesthetics, Etsy buyers have specific anxieties around jewelry: Is it the right size? What does the clasp look like? Will the chain tangle easily? Will the color match what I see on screen? Your job as a photographer is to answer those questions before the customer even thinks to ask them. That means macro shots of findings and closures, shots on a model or a hand for scale, and accurate color rendering under neutral light — not the warm golden tones that look beautiful but make silver look like gold and blue stones look teal.
Example Images
Common Mistakes
Shooting on a white background with direct flash or overhead fluorescent light
Direct flat light kills sparkle in gemstones and creates harsh shadows around prongs and settings. Jewelry needs directional or diffused light to reveal its three-dimensional structure. White backgrounds also reflect light back into the lens and cause blown-out highlights on polished metal surfaces.
Use a lightbox with diffused side lighting, or shoot near a large north-facing window with a white foam board reflector opposite the light source. For gemstones specifically, try a small LED light positioned at a 45-degree angle behind or beside the piece — this is what makes stones glow rather than look dull.
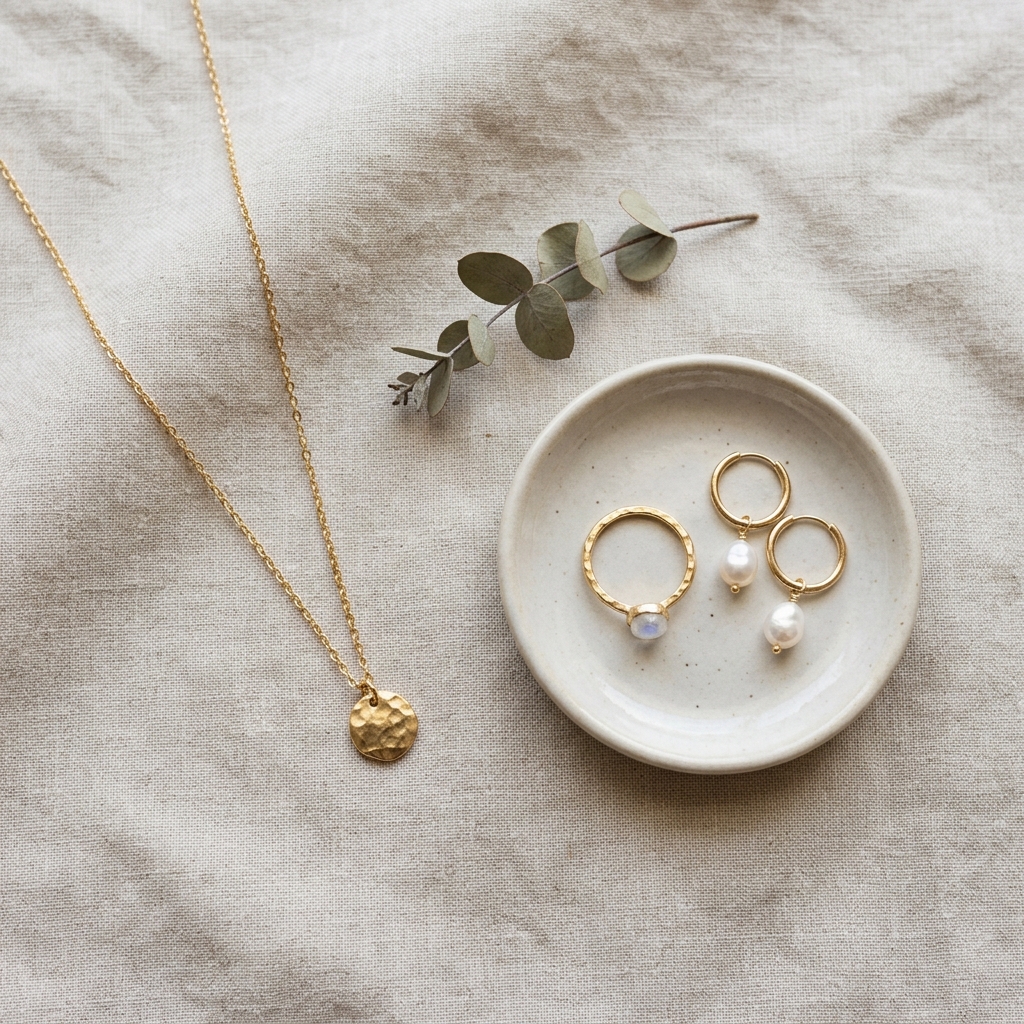
No size reference in any of the listing images
A pendant that looks dramatic in the photo might be 8mm across. A ring might look delicate but actually has a very wide band. Without scale context, buyers guess wrong and then return items — or they don't buy at all because they're unsure.
Include at least one image on a hand or wrist, one on a model wearing it styled naturally, and if you can, a flat lay next to a common object like a coin or ruler. For rings, shoot them on an actual finger, not just a ring cone. Fingers communicate size in a way that props never do.
Inconsistent color temperature across listing images
When some shots look warm and others look cool, buyers sense something is off even if they can't name it. More practically, jewelry buyers are trying to match metals and stones to their existing wardrobe or other pieces — if your color rendering shifts between shots, they can't make an accurate assessment.
Shoot all images for a listing in the same session under the same light source. Set your camera or phone to a fixed white balance — daylight or cloudy preset for natural light, or manually dial in a Kelvin value around 5500K. Avoid mixing window light with a lamp in the same shot.
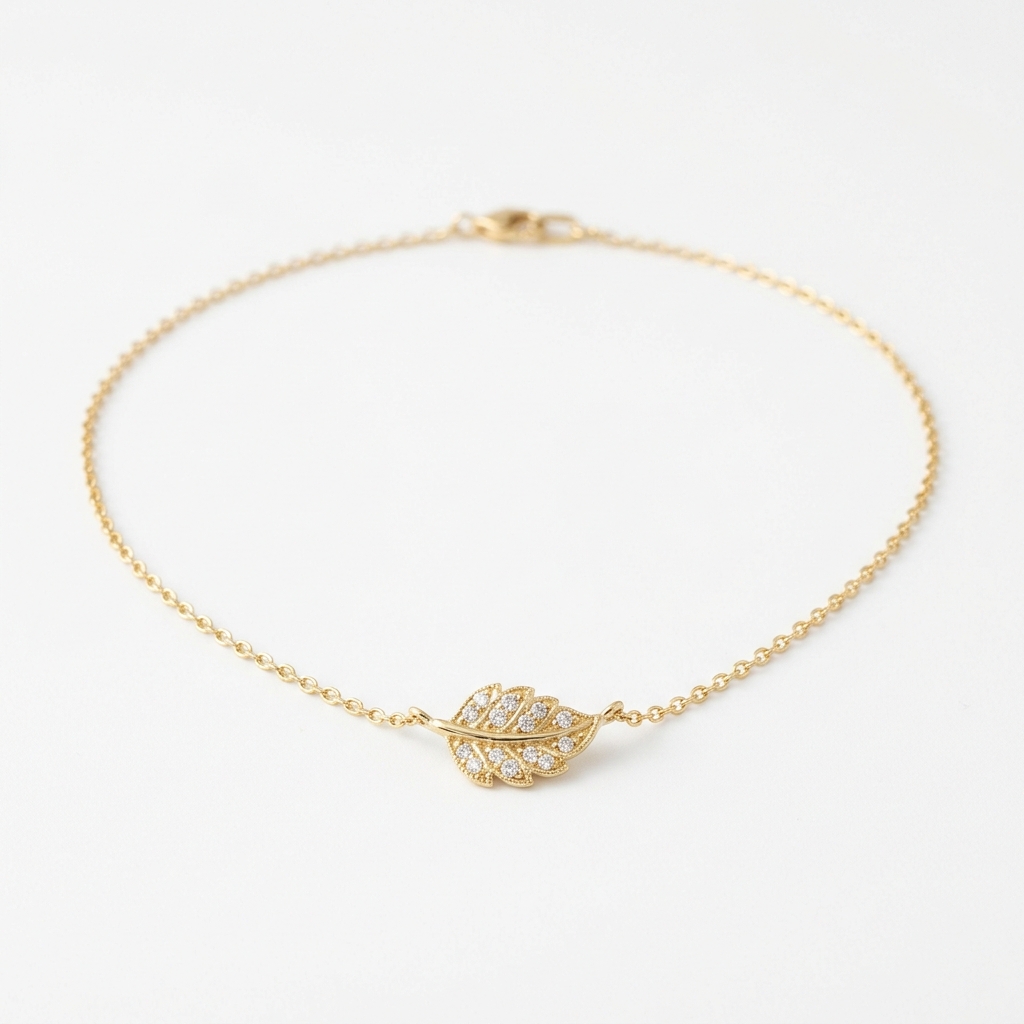
Only shooting the front face of the piece
Clasps fail, backs of earrings matter, the inside of a ring shank matters — especially for personalized or engraved pieces. Buyers who can't see these details often message sellers before purchasing, which slows down your sales cycle. Buyers who don't message just don't buy.
For necklaces, photograph the clasp and the chain lying flat so buyers can see link size and style. For earrings, show the post, lever-back, or hook clearly. For rings, shoot a profile view and the inside of the band if there's an engraving. Treat every component as something a skeptical buyer needs to see.
Skip the trial and error
Get Etsy-ready Jewelry photos without the guesswork
Upload one product photo. ProductScene generates a complete Etsy gallery — every image slot, correctly sized, styled for the platform.
Try free