How to Photograph Clothing for eBay
Clothing is one of the hardest categories to photograph well on eBay, and not because the gear is expensive. The problem is that fabric is soft, shapeless, and full of things buyers cannot judge from a bad photo: true color, drape, fit, fabric condition, and the fine details that separate a $12 shirt from a $60 one. Most clothing on eBay is pre-owned, which means buyers are relying on your photos to judge condition, and every gap you leave turns into a question, a lowball offer, or a 'not as described' return.
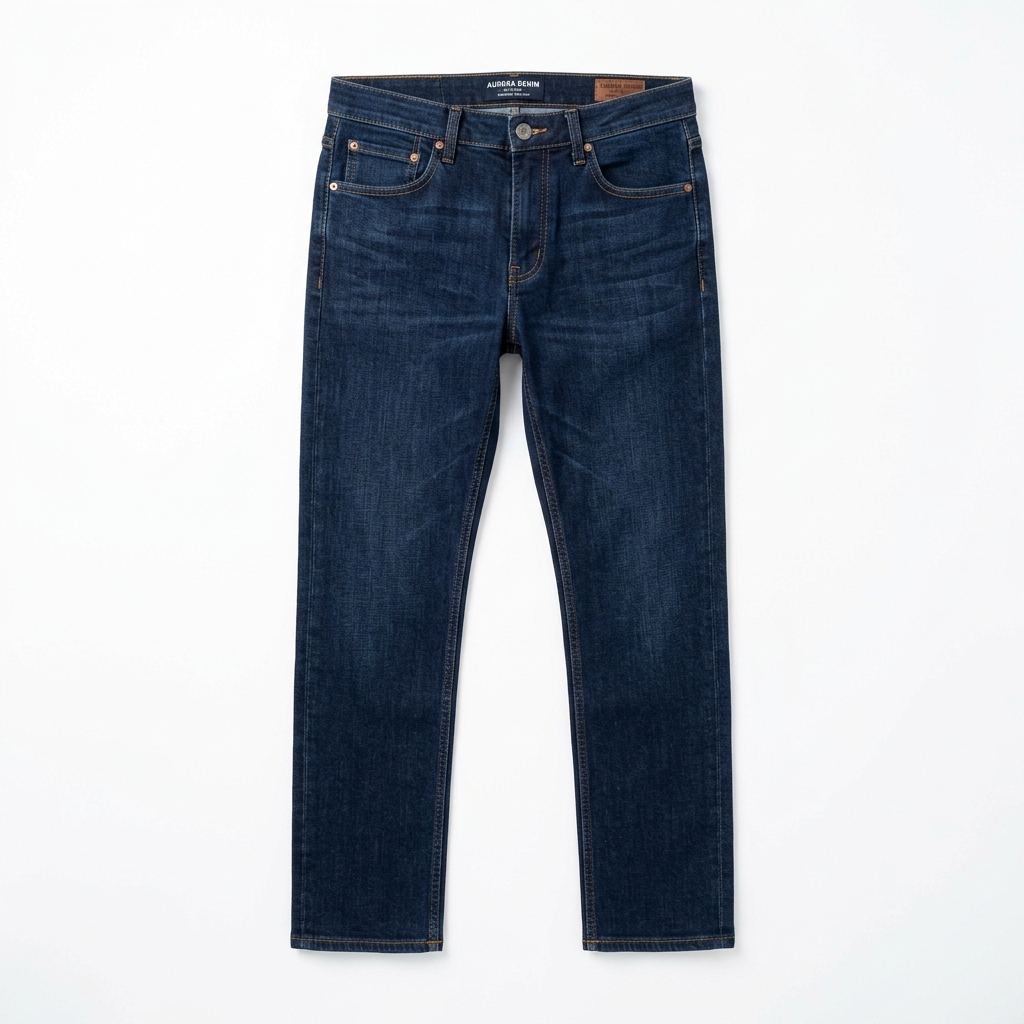
Start with the main image. It is shown as a square thumbnail in search, so crop it to 1:1 and shoot or export at 1600 x 1600 px so buyers can zoom into the weave and stitching. Show the whole garment from the front on a plain white or light neutral background, filling roughly 70% or more of the frame. Tall items like dresses and long coats are the tricky ones: let the garment run nearly top to bottom in the square and accept some empty space on the sides rather than shrinking it into a tiny strip.
After the main shot, build the gallery the way a buyer inspects clothes in a store: back view, brand tag, size tag, fabric content and care label, close-ups of buttons, zippers and fabric texture, then every flaw. Finish with tape measure shots laid across the garment, since eBay buyers shop by measurements far more than by tag size, especially for vintage and international brands. None of these images can carry added text, arrows, borders, or watermarks, so every piece of information has to physically exist in the frame.
Get the lighting right and most other problems shrink. Daylight-balanced light with the white balance set correctly is what keeps navy from looking black and cream from looking yellow, and color mismatch is one of the top reasons clothing comes back.
Example Images
Common Mistakes
Typing measurements, sizes, or 'NWT' onto the photo
eBay does not allow added text, arrows, or overlays on any image, including measurements. Listings can be blocked, and it looks amateur next to clean competitor photos.
Lay a real tape measure across the garment: pit to pit with the shirt flat and buttoned, then shoulder seam to hem for length, inseam and waist for pants. Make sure the numbers on the tape are sharp and readable at full zoom, and put the exact figures in the item specifics and description.
Shooting under indoor bulbs with auto white balance
Warm household lighting pushes everything yellow or orange. Blacks fade to brown, whites turn cream, and buyers who receive a different shade than they saw open returns.
Shoot near a large window on an overcast day or use daylight-balanced LED panels (around 5000 to 5600K). Set white balance manually or tap a white sheet of paper to lock it, and hold the actual garment next to your screen when editing to confirm the color matches.
Photographing wrinkled, linty, or sloppily laid-out garments
A crumpled shirt reads as worn out and low value, even if it is in great condition. Lint and pet hair show up badly at 1600 px zoom and make buyers assume the item came from a dirty home.
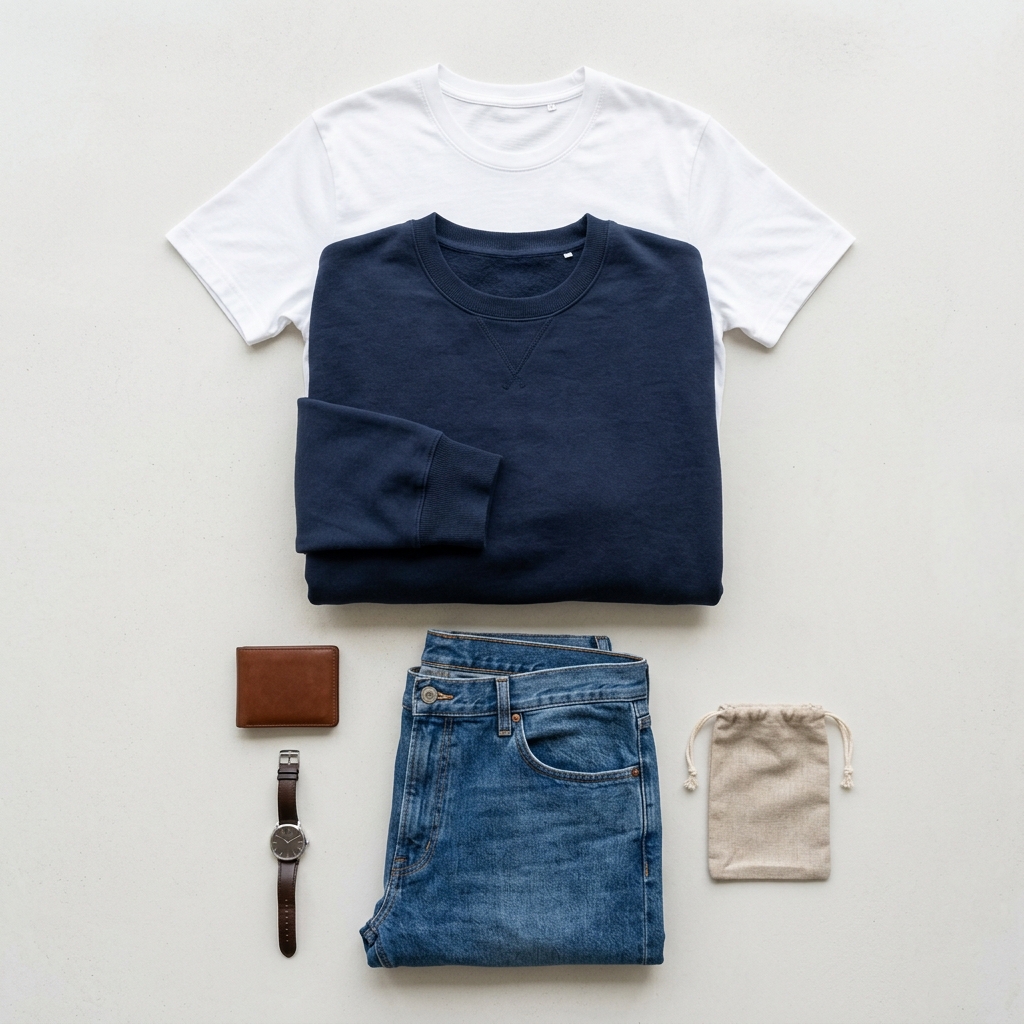
Steam every piece before shooting and run a lint roller over it, front and back. For flat lays, square the shoulders, line up the side seams, and tuck sleeves neatly. For structured items like blazers and dresses, a mannequin or ghost form gives shape that flat lays cannot.
Hiding or skipping flaws
Pilling, armpit staining, small holes, missing buttons, and faded spots are exactly what used clothing buyers look for. A flaw mentioned in the description but not pictured, or not mentioned at all, is a fast route to a 'not as described' case.
Photograph every flaw on a plain background with angled light so it shows clearly. Since arrows and circles are not allowed, point to the spot with a fingertip or pen tip in the shot. Check the high-wear zones every time: underarms, collar, cuffs, inner thighs, seat, and hem.
Leaving out the tags
Brand, size, fabric content, and country of origin tags help buyers verify authenticity and fit. Missing tag photos make designer and vintage pieces look suspicious and reduce what buyers will pay.
Take a sharp close-up of each tag: brand label, size tag, and the care and fiber content label. If tags are cut or faded, photograph what remains so buyers see the real situation. For new with tags items, show the retail hang tag still attached.
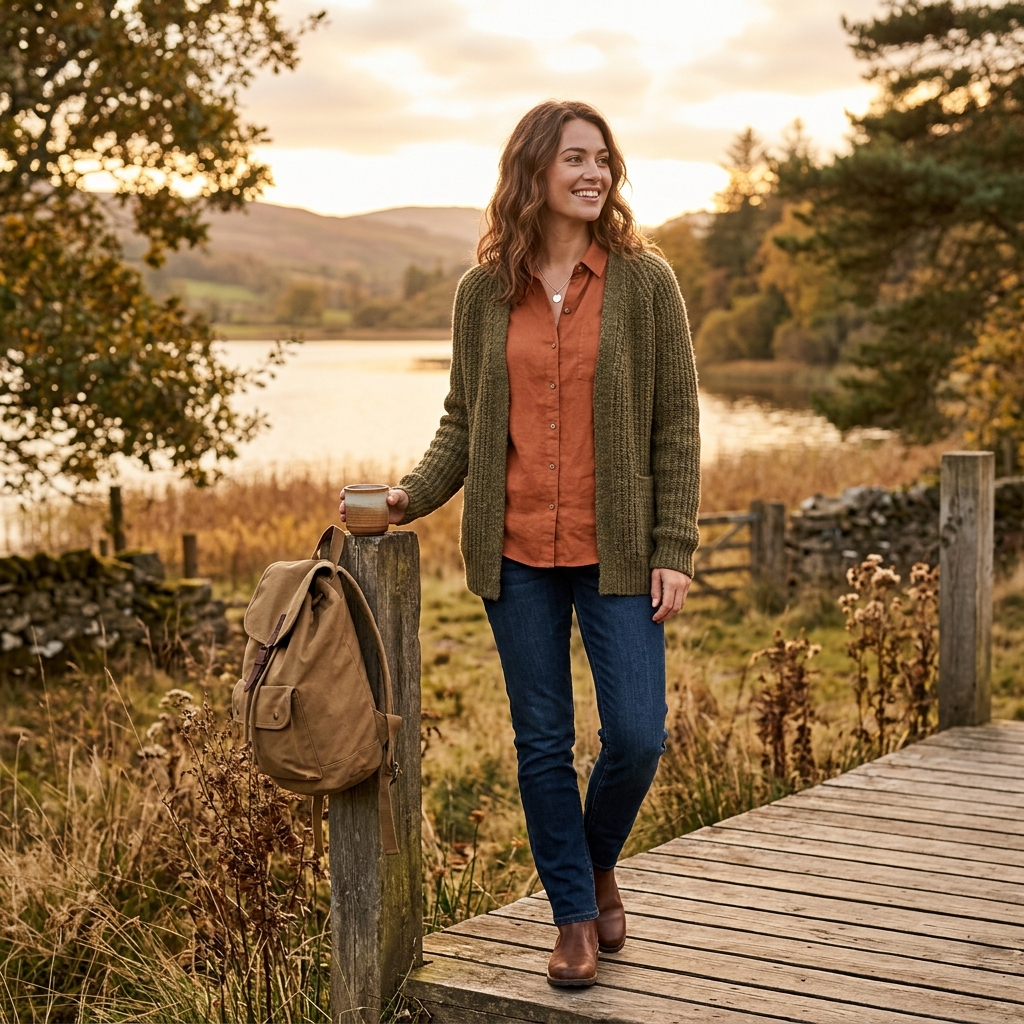
Using a styled or worn photo as the main image
Lifestyle shots belong later in the gallery, never as Photo 1. A busy room or outfit full of accessories also confuses buyers about what is actually included.
Keep the clean, front-facing, whole-garment shot as the main image. Add on-body or styled shots afterward on an uncluttered background, and state in the description that belts, jewelry, shoes, or hangers are not included if they appear.
Mismatched photos in multi-color variation listings
When a buyer selects a color, eBay swaps in the photo tied to that variation. If the image is the wrong shade or a different item, buyers order based on a false picture.
Shoot every color with the same background, lighting, and camera position as the main image, and link each photo to its exact variation. Reshoot whenever a new dye lot or restock looks different.
Frequently Asked Questions
What happens if you typing measurements, sizes, or 'NWT' onto the photo?
eBay does not allow added text, arrows, or overlays on any image, including measurements. Listings can be blocked, and it looks amateur next to clean competitor photos. Lay a real tape measure across the garment: pit to pit with the shirt flat and buttoned, then shoulder seam to hem for length, inseam and waist for pants. Make sure the numbers on the tape are sharp and readable at full zoom, and put the exact figures in the item specifics and description.
What happens if you shooting under indoor bulbs with auto white balance?
Warm household lighting pushes everything yellow or orange. Blacks fade to brown, whites turn cream, and buyers who receive a different shade than they saw open returns. Shoot near a large window on an overcast day or use daylight-balanced LED panels (around 5000 to 5600K). Set white balance manually or tap a white sheet of paper to lock it, and hold the actual garment next to your screen when editing to confirm the color matches.
What happens if you photographing wrinkled, linty, or sloppily laid-out garments?
A crumpled shirt reads as worn out and low value, even if it is in great condition. Lint and pet hair show up badly at 1600 px zoom and make buyers assume the item came from a dirty home. Steam every piece before shooting and run a lint roller over it, front and back. For flat lays, square the shoulders, line up the side seams, and tuck sleeves neatly. For structured items like blazers and dresses, a mannequin or ghost form gives shape that flat lays cannot.
What happens if you hiding or skipping flaws?
Pilling, armpit staining, small holes, missing buttons, and faded spots are exactly what used clothing buyers look for. A flaw mentioned in the description but not pictured, or not mentioned at all, is a fast route to a 'not as described' case. Photograph every flaw on a plain background with angled light so it shows clearly. Since arrows and circles are not allowed, point to the spot with a fingertip or pen tip in the shot. Check the high-wear zones every time: underarms, collar, cuffs, inner thighs, seat, and hem.
What happens if you leaving out the tags?
Brand, size, fabric content, and country of origin tags help buyers verify authenticity and fit. Missing tag photos make designer and vintage pieces look suspicious and reduce what buyers will pay. Take a sharp close-up of each tag: brand label, size tag, and the care and fiber content label. If tags are cut or faded, photograph what remains so buyers see the real situation. For new with tags items, show the retail hang tag still attached.
What happens if you using a styled or worn photo as the main image?
Lifestyle shots belong later in the gallery, never as Photo 1. A busy room or outfit full of accessories also confuses buyers about what is actually included. Keep the clean, front-facing, whole-garment shot as the main image. Add on-body or styled shots afterward on an uncluttered background, and state in the description that belts, jewelry, shoes, or hangers are not included if they appear.
What happens if you mismatched photos in multi-color variation listings?
When a buyer selects a color, eBay swaps in the photo tied to that variation. If the image is the wrong shade or a different item, buyers order based on a false picture. Shoot every color with the same background, lighting, and camera position as the main image, and link each photo to its exact variation. Reshoot whenever a new dye lot or restock looks different.
Clothing on other platforms
Skip the trial and error
Get eBay-ready Clothing photos without the guesswork
Upload one product photo. ProductScene generates a complete eBay gallery — every image slot, correctly sized, styled for the platform.
Try free